Wiring is the part of the hobby nobody photographs and everybody underestimates. It is also, by a wide margin, the most common reason a layout runs badly. Stalling locomotives, flickering lights, trains that die at the same spot every time, shorts that shut down the whole railroad — almost all of it traces back to how the power got to the rails.
The good news is that doing it properly is not difficult. It is just work that has to happen before the scenery goes on.
The one rule that matters most
Do not rely on rail joiners to carry current.
This is the mistake behind most "my layout worked and now it doesn't" problems. Rail joiners are mechanical alignment devices. They conduct electricity when new and clean, and they stop conducting reliably as they oxidise, as the layout expands and contracts with humidity, and as the track gets handled.
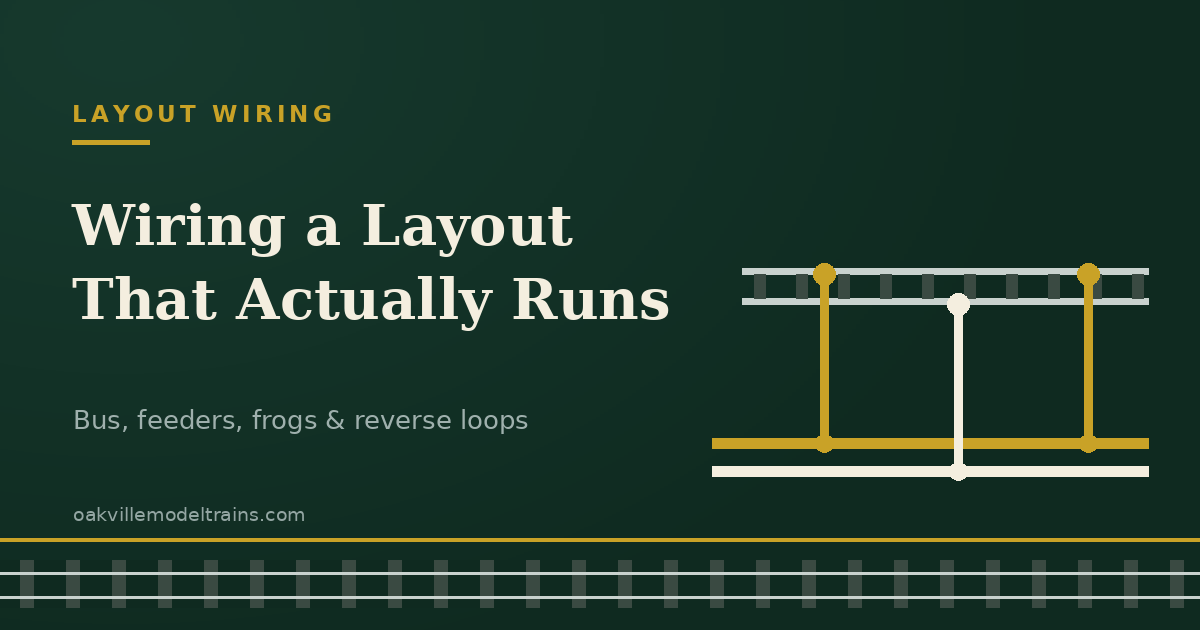
The fix is a power bus with feeders: run a pair of heavy wires the length of the layout underneath the benchwork, then drop a pair of small wires from every section of track to that bus. Now every piece of rail is fed directly and joiners only have to hold alignment.
Sizing the bus and feeders
For a typical home layout: 14 or 16 gauge stranded wire for the bus, 20 to 22 gauge for the feeders. The bus is heavy because it carries the whole layout's current over distance; the feeders are light because they only run a few inches.
Feeder spacing: every three feet is a sound default, and every piece of rail that is electrically separate needs its own regardless of length. That includes short sections between turnouts, which is exactly where people skip them and exactly where trains stall.
Use two colours and stay disciplined about which rail is which for the whole layout. When you are under the benchwork on your back at eleven at night, colour discipline is the difference between a five-minute fix and an hour of tracing. Our Wire Works range covers 18–24 gauge solid and stranded in colour-coded spools for exactly this.
Soldering feeders
Solder feeders to the outside of the rail base, or to the underside before you lay the track. Both hide the joint. Work quickly with a hot iron — a cool iron applied for a long time melts plastic ties, while a hot iron applied briefly does not.
Tin both the wire and the rail first, then join them. If you are laying flex track, drill the feeder holes and solder before the track goes down; doing it afterwards through ballast and scenery is a job you will resent.
Turnouts: where it gets interesting
A turnout's frog is the crossing point where the rails intersect. How it is wired determines whether short-wheelbase locomotives stall on it.
Insulfrog turnouts have a plastic frog. Nothing to wire, and a small dead spot that four-axle switchers and short steam will find.
Electrofrog turnouts have a live metal frog that must change polarity as the points move — otherwise you get a short. Three ways to handle it:
- A switch machine with built-in contacts. Circuitron Tortoise slow-motion machines have SPDT contacts for exactly this, and the slow prototypical movement is a bonus.
- A manual ground throw with contacts — Caboose Industries sprung ground throws include SPDT contacts and an operating target.
- An automatic frog juicer, which senses the short and flips polarity in milliseconds. The simplest option if the turnout is hard to reach.
Electrofrog is worth the extra work on anything you will switch. See our track guide for the full comparison.
Reverse loops and wyes
Any track arrangement that turns a train around — a reverse loop, a wye, a turntable — connects the two rails to each other and creates a short. This is true on DC and DCC alike; it is a geometry problem, not an electrical one.
On DCC the solution is an auto-reverser: isolate the reversing section at both ends and let the module detect and correct the polarity mismatch faster than the command station can register a fault. The train runs through without you doing anything.
The one requirement people miss: the isolated section must be longer than your longest train, or at least longer than the distance between the first and last pickup wheels. Otherwise the train bridges both gaps simultaneously and the reverser cannot resolve it.
Power districts
On anything larger than a small layout, split the railroad into power districts with a circuit breaker on each. Then a derailment in the yard does not shut down the mainline, and you can find a fault by district instead of crawling the whole layout.
Use proper DCC circuit breakers rather than relying on the command station's internal protection — they trip faster and more precisely. Digitrax power managers and NCE circuit breakers both do the job. Four to six districts is plenty for a typical home layout.
Occupancy detection and signalling
If you want working signals or a dispatcher's panel, you need to know where the trains are. Block occupancy detectors sense current draw in an isolated block and report it. Digitrax BD4N-type detectors handle four blocks each.
This is an add-later project. Wire the layout so it is possible — keep your blocks isolated on one rail — and do the detection when you get to it.
Lighting
Structure and street lighting is a separate low-voltage circuit and much simpler than it used to be. Woodland Scenics Just Plug is a plug-together LED system with no soldering and individual brightness adjustment, which is the fastest route to a lit town. For scratch installations, LEDs with the correct resistor work fine — see Sound & Lighting.
Do this before the scenery
Every wiring job is easier before there is plaster, ballast and a town on top of it. Run the bus, drop the feeders, wire the turnouts, install the reversers, and test every foot of track with a locomotive before you glue down a single piece of ballast.
Label both ends of every wire. You will not remember, and future you will be grateful.
What you need
Everything discussed here lives in Wiring & Electrical — hookup wire, feeder joiners, terminal blocks, heat shrink, circuit breakers, auto-reversers and detectors. For the control system itself see DCC Systems & Controllers, and for what goes in the locomotive, our decoder guide.
Planning a layout and not sure how to break it into districts? Send us the track plan — we do this often and it is a quick conversation.