
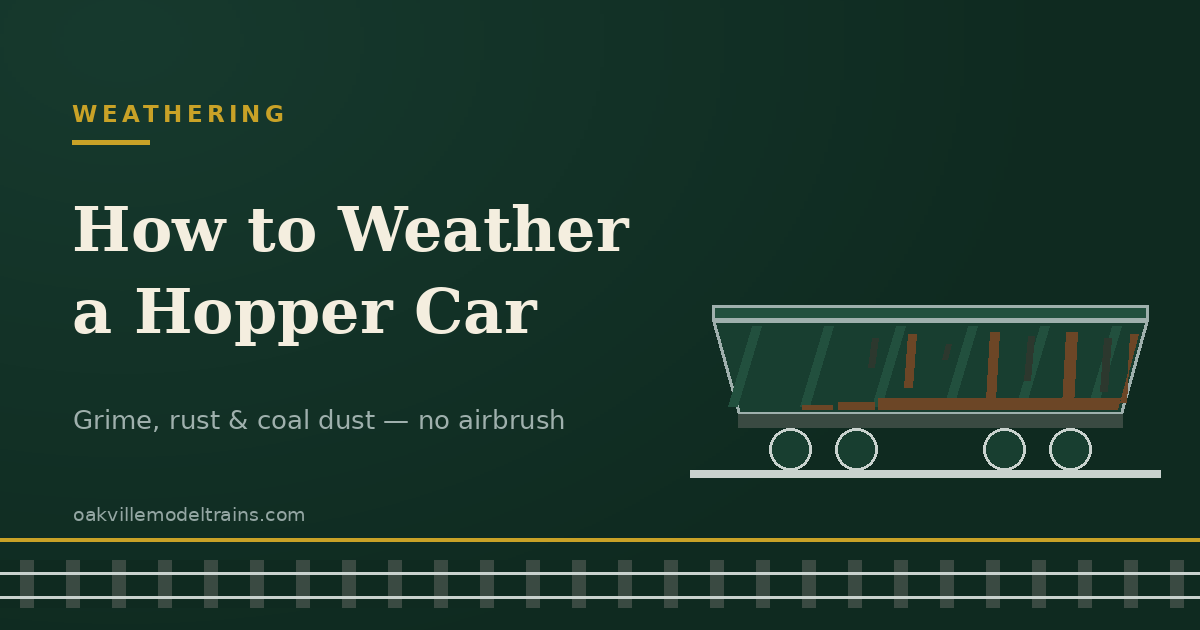
A brand-new model hopper car looks great in the box — and a little too perfect on the layout. Real hoppers spend their lives outdoors hauling coal, ore, and aggregates, and they show it: faded paint, streaks of rust, and a coating of grime. Weathering is how you bridge that gap, and the good news is that a convincing hopper is one of the easiest cars to start with. This guide walks you through it step by step — no airbrush required.
Why hoppers are the perfect first weathering project
Open hoppers are forgiving. They're meant to look filthy, so heavy-handed mistakes read as "well-used" rather than "wrong." You can practice the core techniques — fading, washes, streaking, and dusting — on a single car and immediately see the payoff.
If you want a practice car, an inexpensive open hopper from our rolling stock collection is ideal for learning.
What you'll need
You don't need a big kit to start:
- A few weathering powders (rust, grime/black, earth tones)
- A small bottle of flat/matte finish (spray or brush)
- Acrylic paint in rust and grimy black, plus water for washes
- A couple of cheap soft brushes and an old stiff brush
- Paper towels and a cotton swab or two
Everything here is available in our tools and paint section.
Work in light layers. The single biggest beginner mistake is doing too much at once. You can always add more grime; taking it off is much harder.
Step 1: Knock down the factory shine
New models have a glossy or semi-gloss finish that looks toy-like. Start by sealing the car with a flat (matte) clear coat. This kills the shine and gives the powders and washes something to grip. Let it dry fully before moving on.
Step 2: Fade the base color
Sun fades paint over the years. Mix a very thin wash — mostly water with a touch of light grey or the car's base color lightened — and brush it over the body. Wipe downward with a paper towel so the faded look follows the way rain runs. Keep it subtle.
Step 3: Add a grime wash in the recesses
Make a thin, dark wash (grimy black or dark brown, heavily thinned). Flow it into the ribs, seams, and panel lines. Capillary action pulls it into the recesses, which is exactly where dirt collects on the real thing. Wipe the excess off the flat surfaces with a swab, leaving the dark tone in the crevices. This single step adds instant depth.
Step 4: Streak the rust and runoff
Hoppers rust at the seams, around the bays, and wherever water sits. Use a fine brush to place small vertical streaks of rust color, then drag them downward with a damp brush so they fade as they go. Vary the length and spacing — nature isn't even. Concentrate rust along the bottom edges and the discharge bays underneath.
Step 5: Dust it with weathering powders
Now the fun part. Load a soft brush with rust and earth powders and stipple them onto the lower body, the trucks (wheels), and the inside of the hopper bay if it's visible. For a coal hauler, dust the interior and top edges with black powder to suggest coal residue. Build it up gradually until it looks right.
Step 6: Seal it again
Once you're happy, lock everything in with a final light coat of flat finish. Note that matte sealer slightly dulls powders, so go a touch heavier than you think — or leave the very last dusting of powder unsealed for maximum texture.
Quick tips for a believable result
- Look at prototype photos. Search the actual railroad and car type before you start. Real wear has logic to it.
- Weather the wheels and trucks. Shiny black plastic wheels are a dead giveaway. A dusting of rust/earth instantly improves any car.
- Vary your fleet. If you weather several cars, make each one slightly different so they don't look like a matched set.
Frequently asked questions
Do I need an airbrush to weather model trains? No. Everything in this guide is done with powders, washes, and brushes. An airbrush is great for fading large fleets quickly, but it's not required to get excellent results on a single car.
What's the best car to practice weathering on? An open hopper. They're designed to look dirty, so mistakes blend in, and inexpensive cars are easy to find.
Will weathering ruin the value of a collectible car? Weathering is permanent and generally lowers resale value for collectors, so practice on common, inexpensive cars and keep any rare or sentimental models factory-fresh.
How do I weather the inside of a hopper for coal service? Dust the interior and top edges with black weathering powder, heavier toward the discharge bays. A few rust streaks where the load scrapes the walls adds realism.
Ready to try it? Grab a practice car from our rolling stock collection and the supplies from our tools and paint section. Questions? Email us anytime — we're always happy to help.